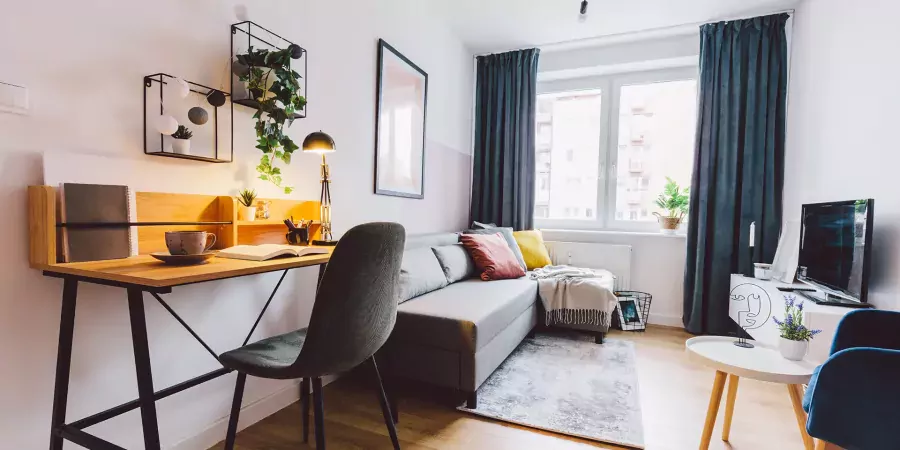
This is how you should take real estate photos! Photographer's tips for a fast sale

Ever wondered how interior photos in magazines look so professional and flawless? It's not always about luxury properties, but well-practiced photographers manage to make spaces shine in the best possible light.
Buyers and renters won't even consider properties that don't convey a good feeling through photos, and in the fast-paced digital world, the first impression is crucial. If you're trying to rent or sell your property, the first steps will inevitably involve photography and advertising online, so keep reading!
How to professionally photograph a property with your phone?
If you don't have a professional camera, smartphones can to some extent replace professional photographic equipment. Most modern phones capture precise and high-quality photos, so learn how to harness the full potential of your Android or Apple device.
Before taking the photos...
Tidy up the space and remove all personal items. Furniture and decoration should be universally appealing, without the personal touch of current owners. The goal is for buyers or renters to envision their future life in that space. Find out ways to increase the value of the property you're renting or selling on our blog.
Back to photography. The next step is to clean the camera lens, raise the apartment blinds, and turn on all the lights in the property. This way, you'll get the most out of natural and artificial lighting.
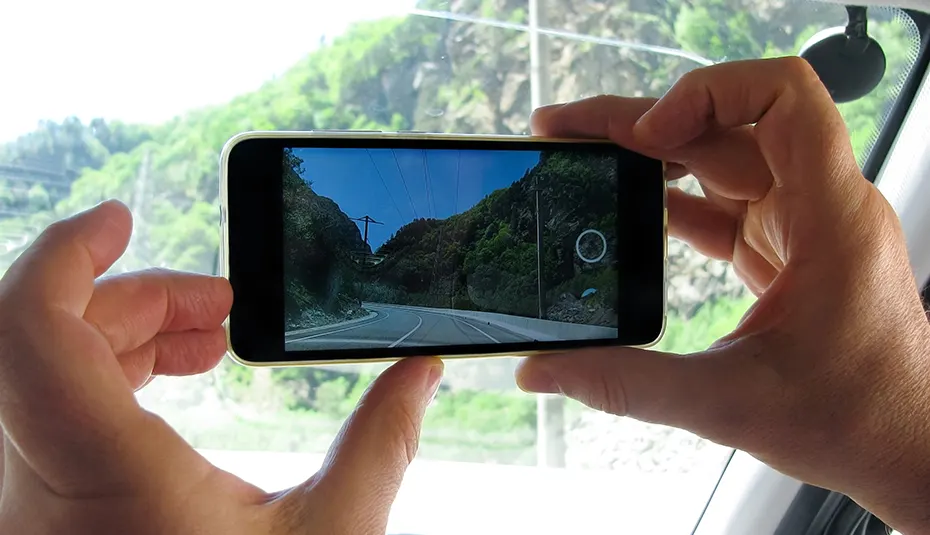
Hold the phone with both hands horizontally (landscape)
If you're used to holding the phone with one hand while taking photos, that's not the correct way. See the image below to learn how to position your fingers during photography to keep the picture as level as possible. Also, hold the phone at chest height (approximately 1.50 meters) and avoid tilting.

For property photography, it's recommended to turn the phone's camera horizontally (landscape) because it captures more details and conveys the width of the space. The exception would be tall objects, where we might prefer a vertical position (portrait), but when it comes to interior photography, prefer "landscape."
Find focus and angle
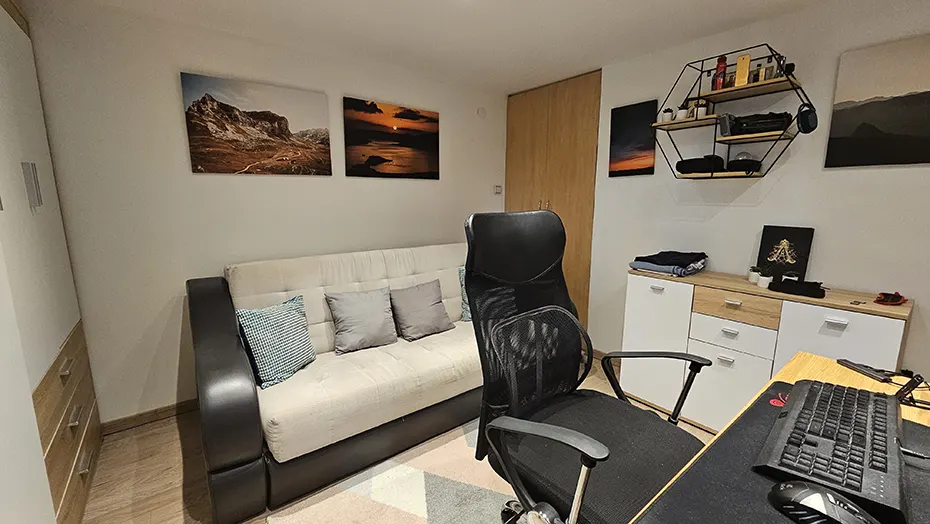
The main asset of your property photos should be good composition. Carefully select which rooms are crucial for photography and which angle best represents them. Stand in the corner of the room to capture as much width of the frame as possible.
It goes without saying that photos should be defined and focused on objects that are the thematic center of the room. Also, make sure to capture the entire height and length of the space. The edges of the photos should be symmetrical.
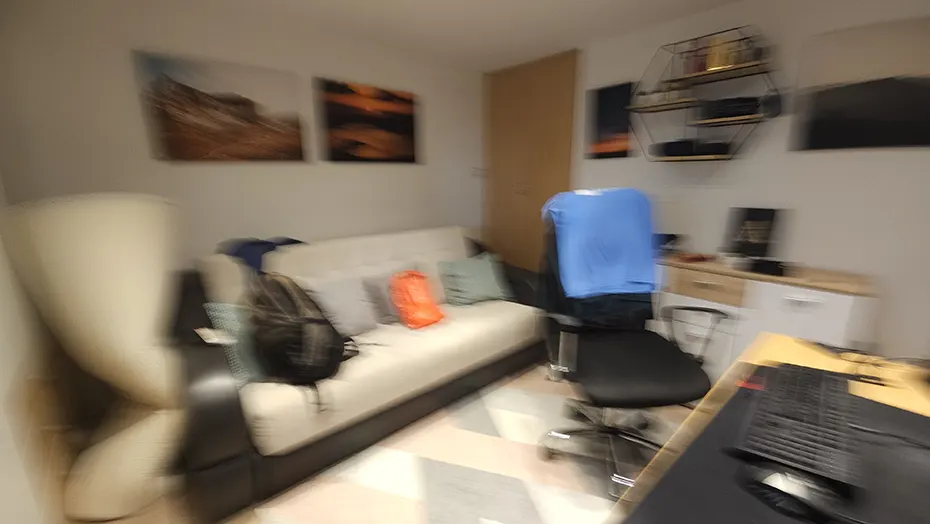
See how a photo taken according to these tips compares to an amateur one!


Add context to the photo
Photos taken from atypical angles add dynamism, but only when there's a meaningful reason for it. For example, if the property has multiple floors, an interesting way to show it would be to take a photo of the lower level from above, from the top of the stairs.
Main rooms should be photographed from multiple angles so potential buyers can better imagine themselves in the atmosphere from the photo. A video tour is another plus that we advise including in your property listing. When filming the property, hold the phone camera as we explained above. Open the doors of all rooms, move slowly, and shoot straight ahead without focusing on details, pieces of furniture, and the like.
Want an EXPERT presentation of your property?
If you're planning to rent out or sell a property, you don't actually have to do this yourself. If you choose to list your property for sale or rent through the City Expert website, our team of professional photographers will come out and create complete photo and video materials. After thorough processing, we present each property through 360-degree photos, floor plans, video tours; all accompanied by a detailed description and a competitive position on our website.
See for yourself why we're the leading online real estate agency and why our largest base of buyers and renters has been loyal since 2015.